There are many weird things that our body does that we probably don’t even share with our close friends. On the same level as toe-jam, and belly button fuzz, and the broken bone cast smell is “ear cheese.”
What Is “Ear Cheese”?
You might recognize the description even if you are not familiar with the term: ear cheese is the icky, brownish-gray gunk that builds up on your earring posts and backs, especially on the rubberized backs or clear plastic bit over the backing.
“Ear cheese” is natural and is just a part of having pierced ears. Ear cheese is caused by a build-up of oil and dead skin cells you’ve shed. Ever go to adjust your earring in a public place only to realize that now your fingers smell awful?
Your body is continually renewing and replacing skin cells. This happens all over our bodies, including our ears. The ears fall into one of those forgotten zones that can be a challenging place to keep clean. We’ll help you remedy that with today’s post.
When our ears are neglected in the shower, those skin cells start to build up and blend with our skin’s natural moisturizer, sebum. There are sebum glands located all across our bodies and even in our ears.
Sebum helps protect our skin from environmental pollutants, rips and tears, and dryness. It is like our skin’s built-in lotion, and when this oil gets left behind to build up and blend with those dead skin cells, it becomes an excellent place for bacteria to hang out — which can get gross when left pressed against the skin and the earring back. It’s the bacteria that help give “ear cheese” its distinctively cheese-like scent.
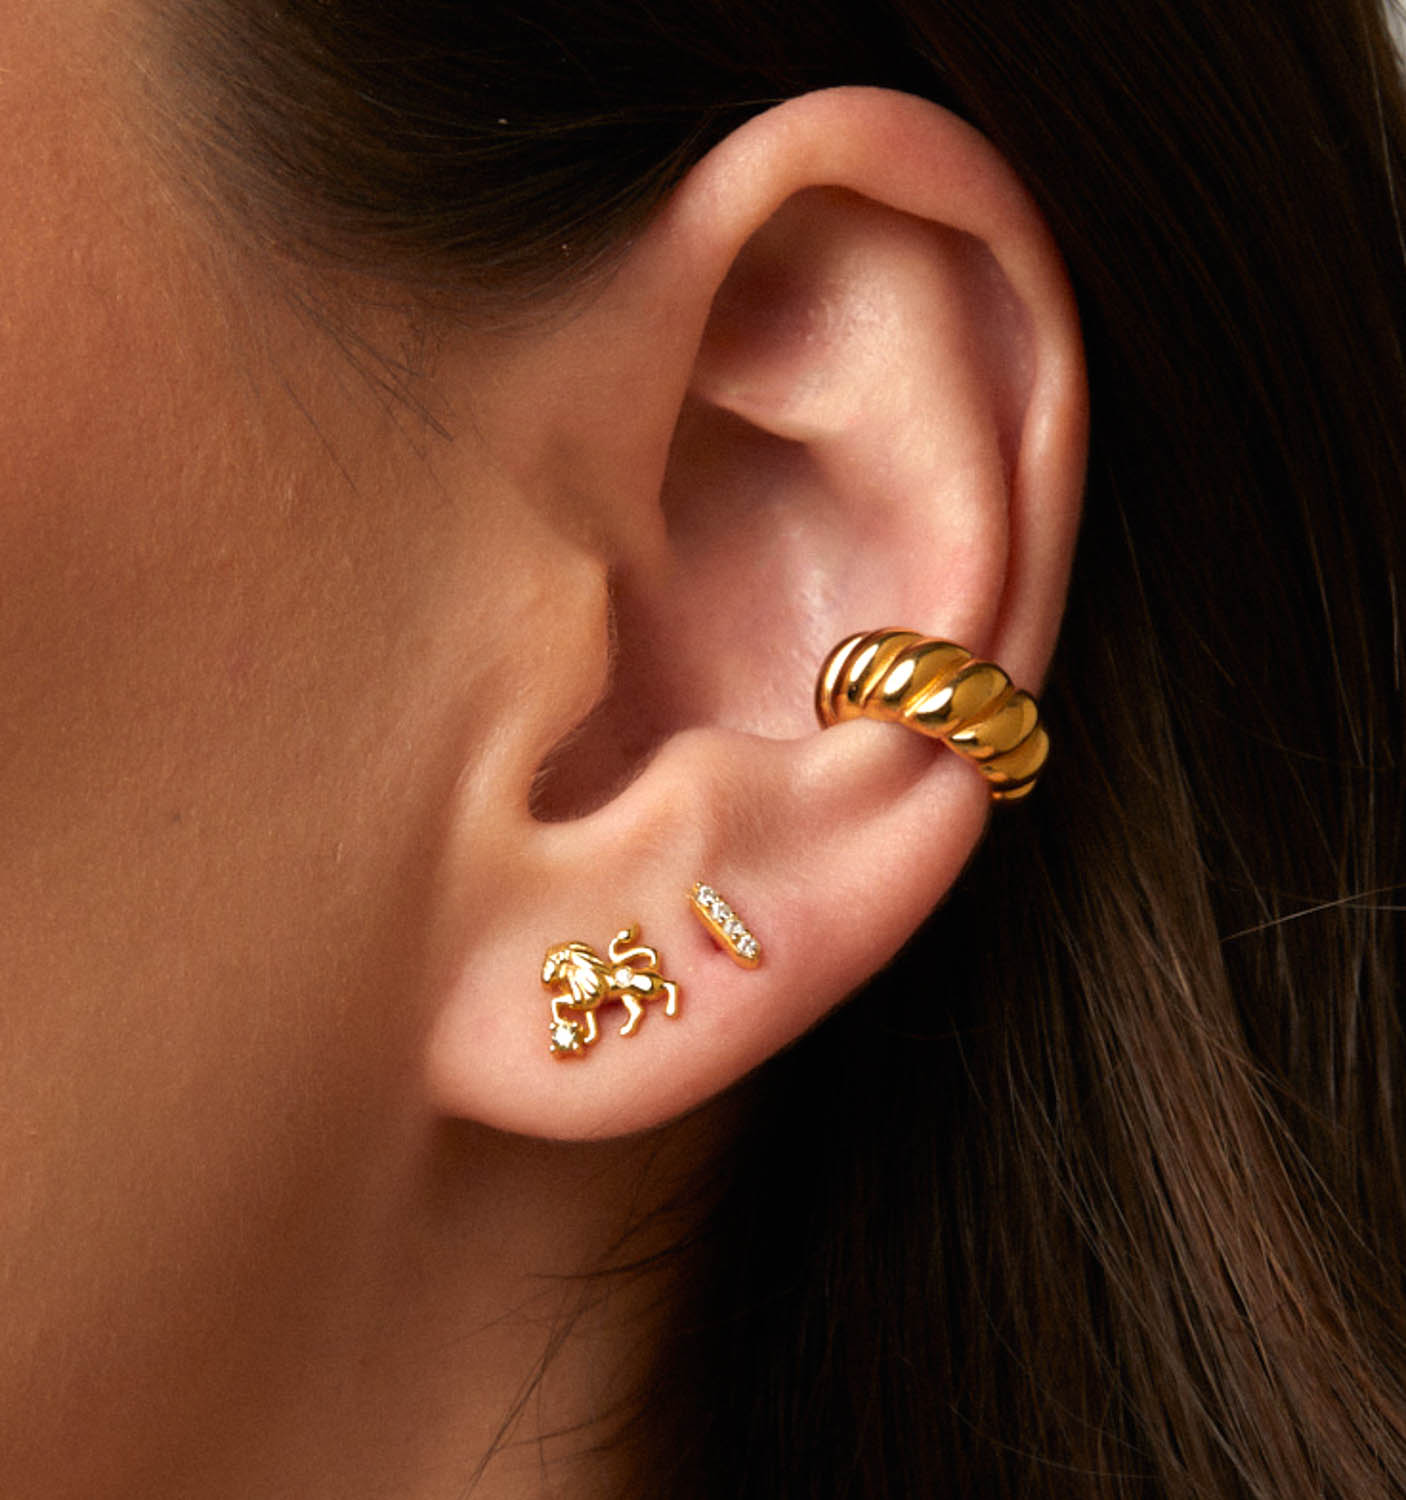
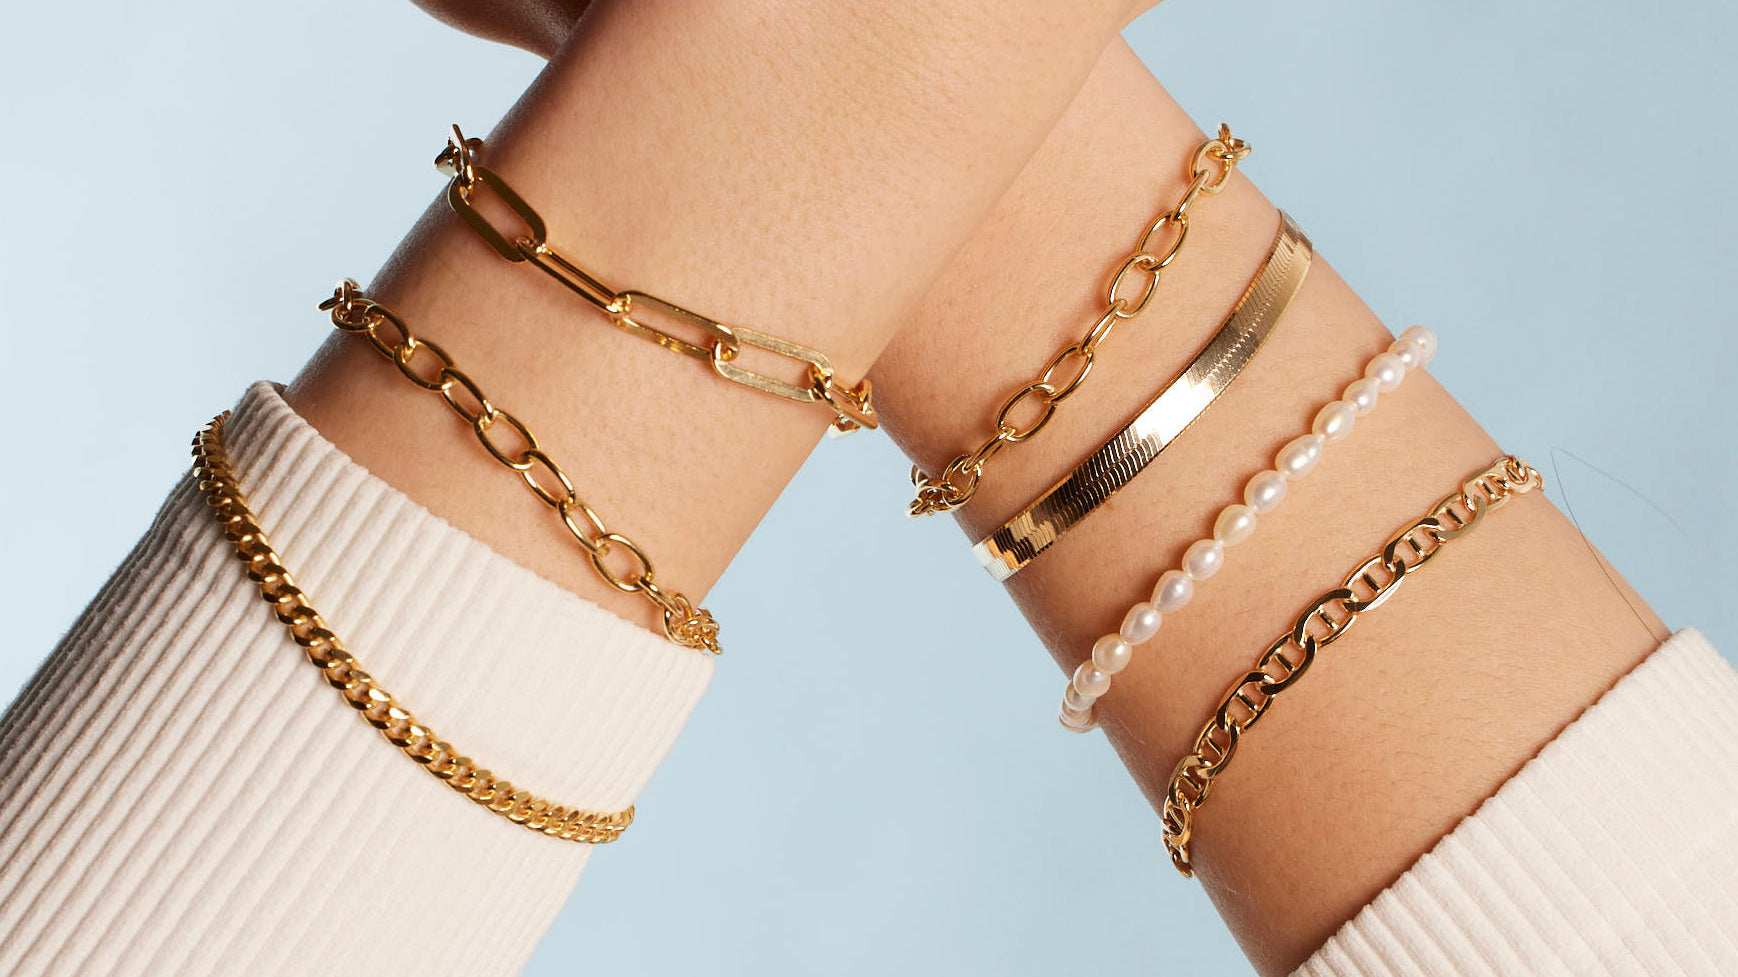
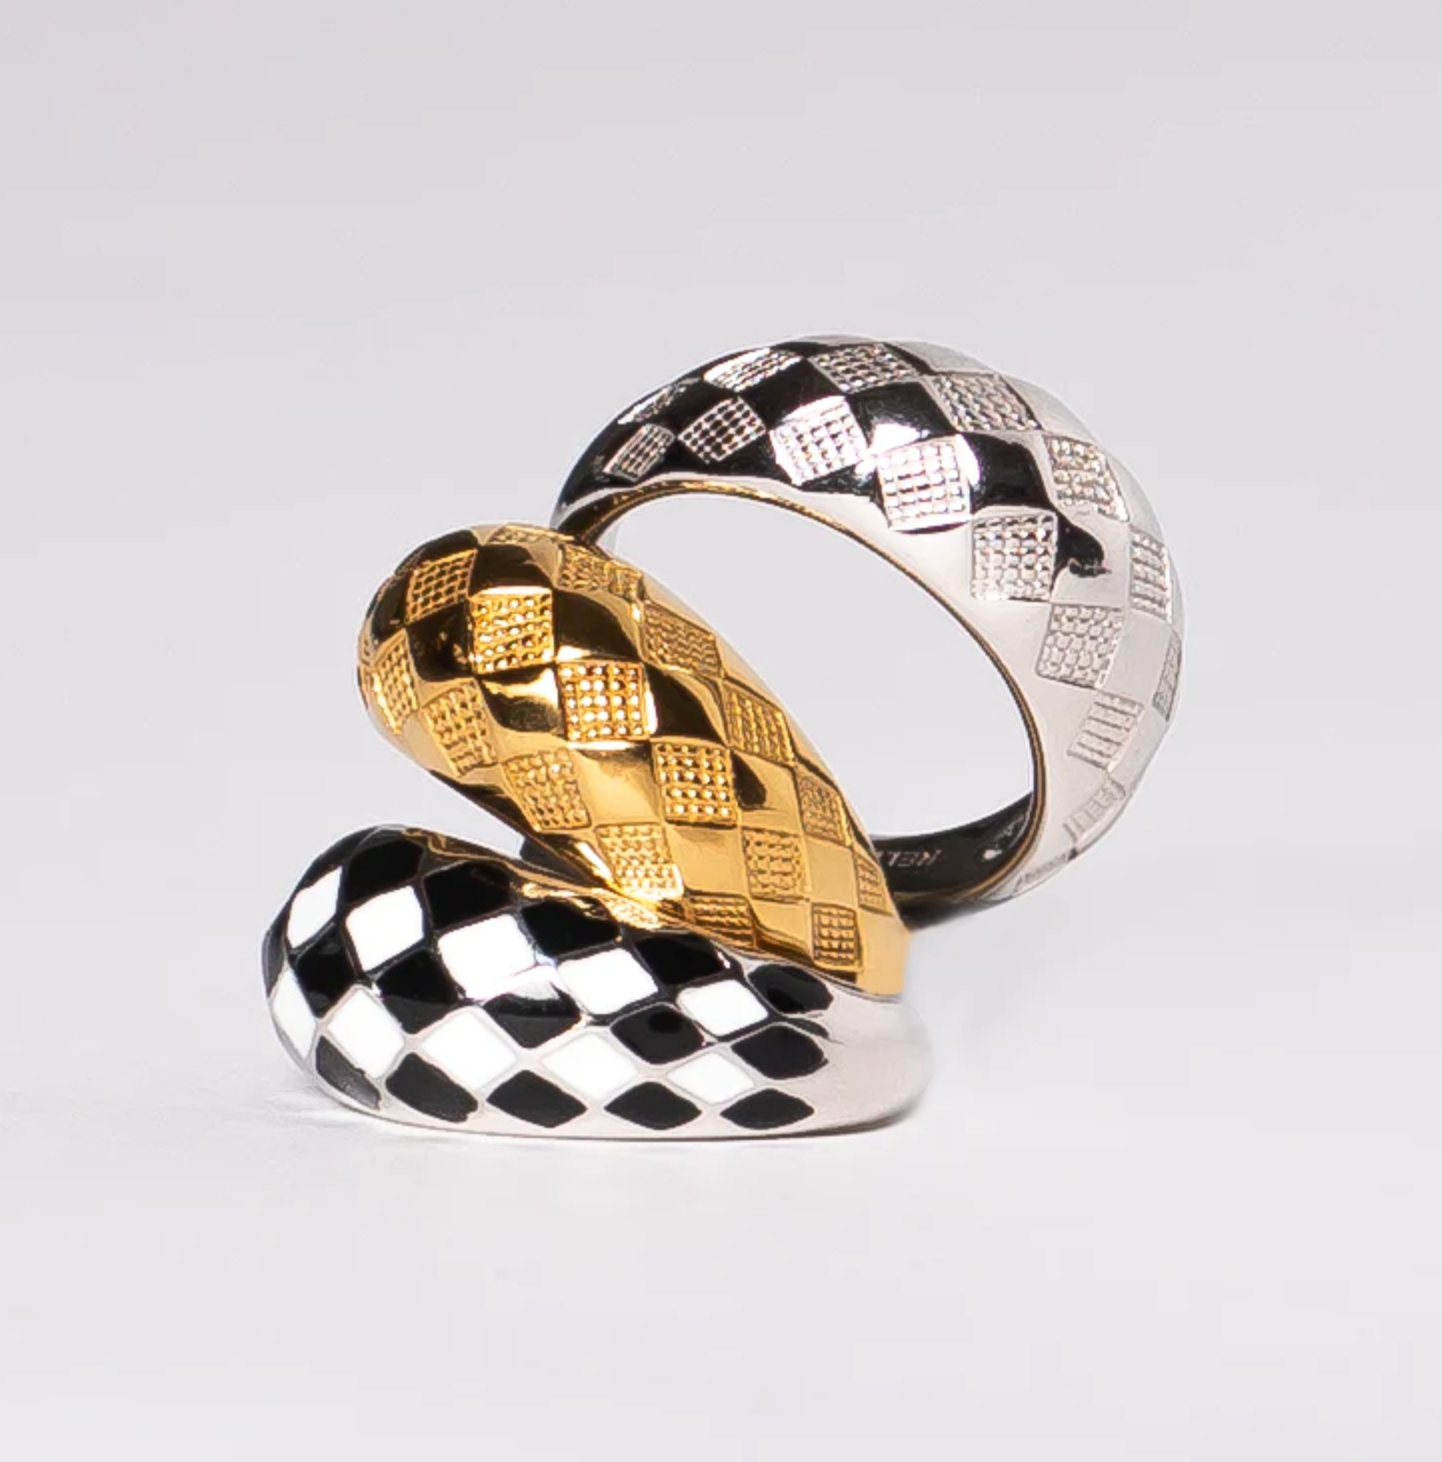
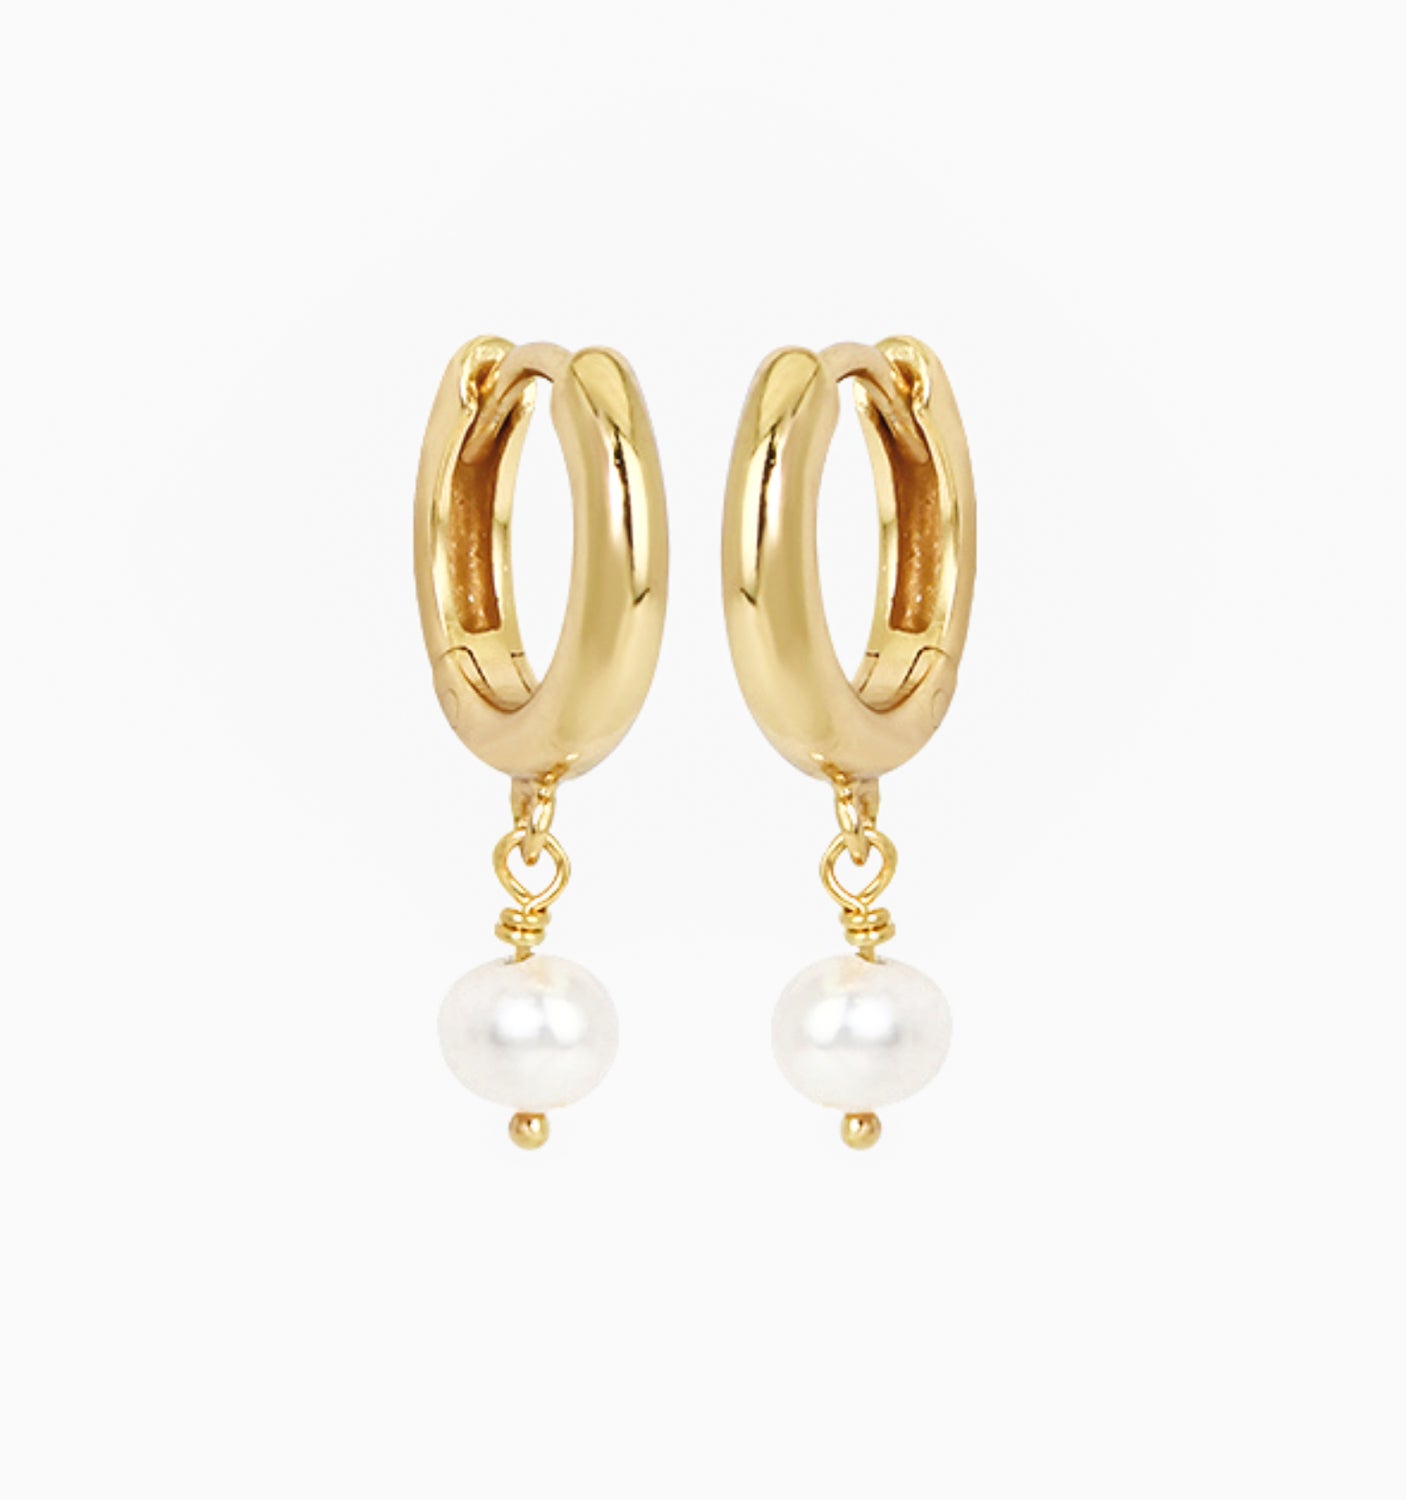
Sometimes this build-up can also aid in helping our earring backs get stuck and be difficult to remove. One solution is consider getting earrings with a hinge back so that they are easy for you to remove and clean. These earrings are also sturdy so they won't fall off easily. We offer some of these pieces at RELLERY:
And it’s a problem that affects the vast majority of women considering 83 percent of all Americans have at least one ear pierced, and 72 percent of all people with piercings are women.
That’s a lot of ladies with a lot of stinky earlobes that aren’t talking about stinky ear lobes.
It is very common for girls to have their ears pierced as babies or as young children in the US. And besides the initial care when we first get our ears pierced, there is not a whole lot we do to make sure we are laying on the TLC and self-care to ear lobes.
This means that piercing care is practically a life-long issue that we all need to know more about so we can make some changes.
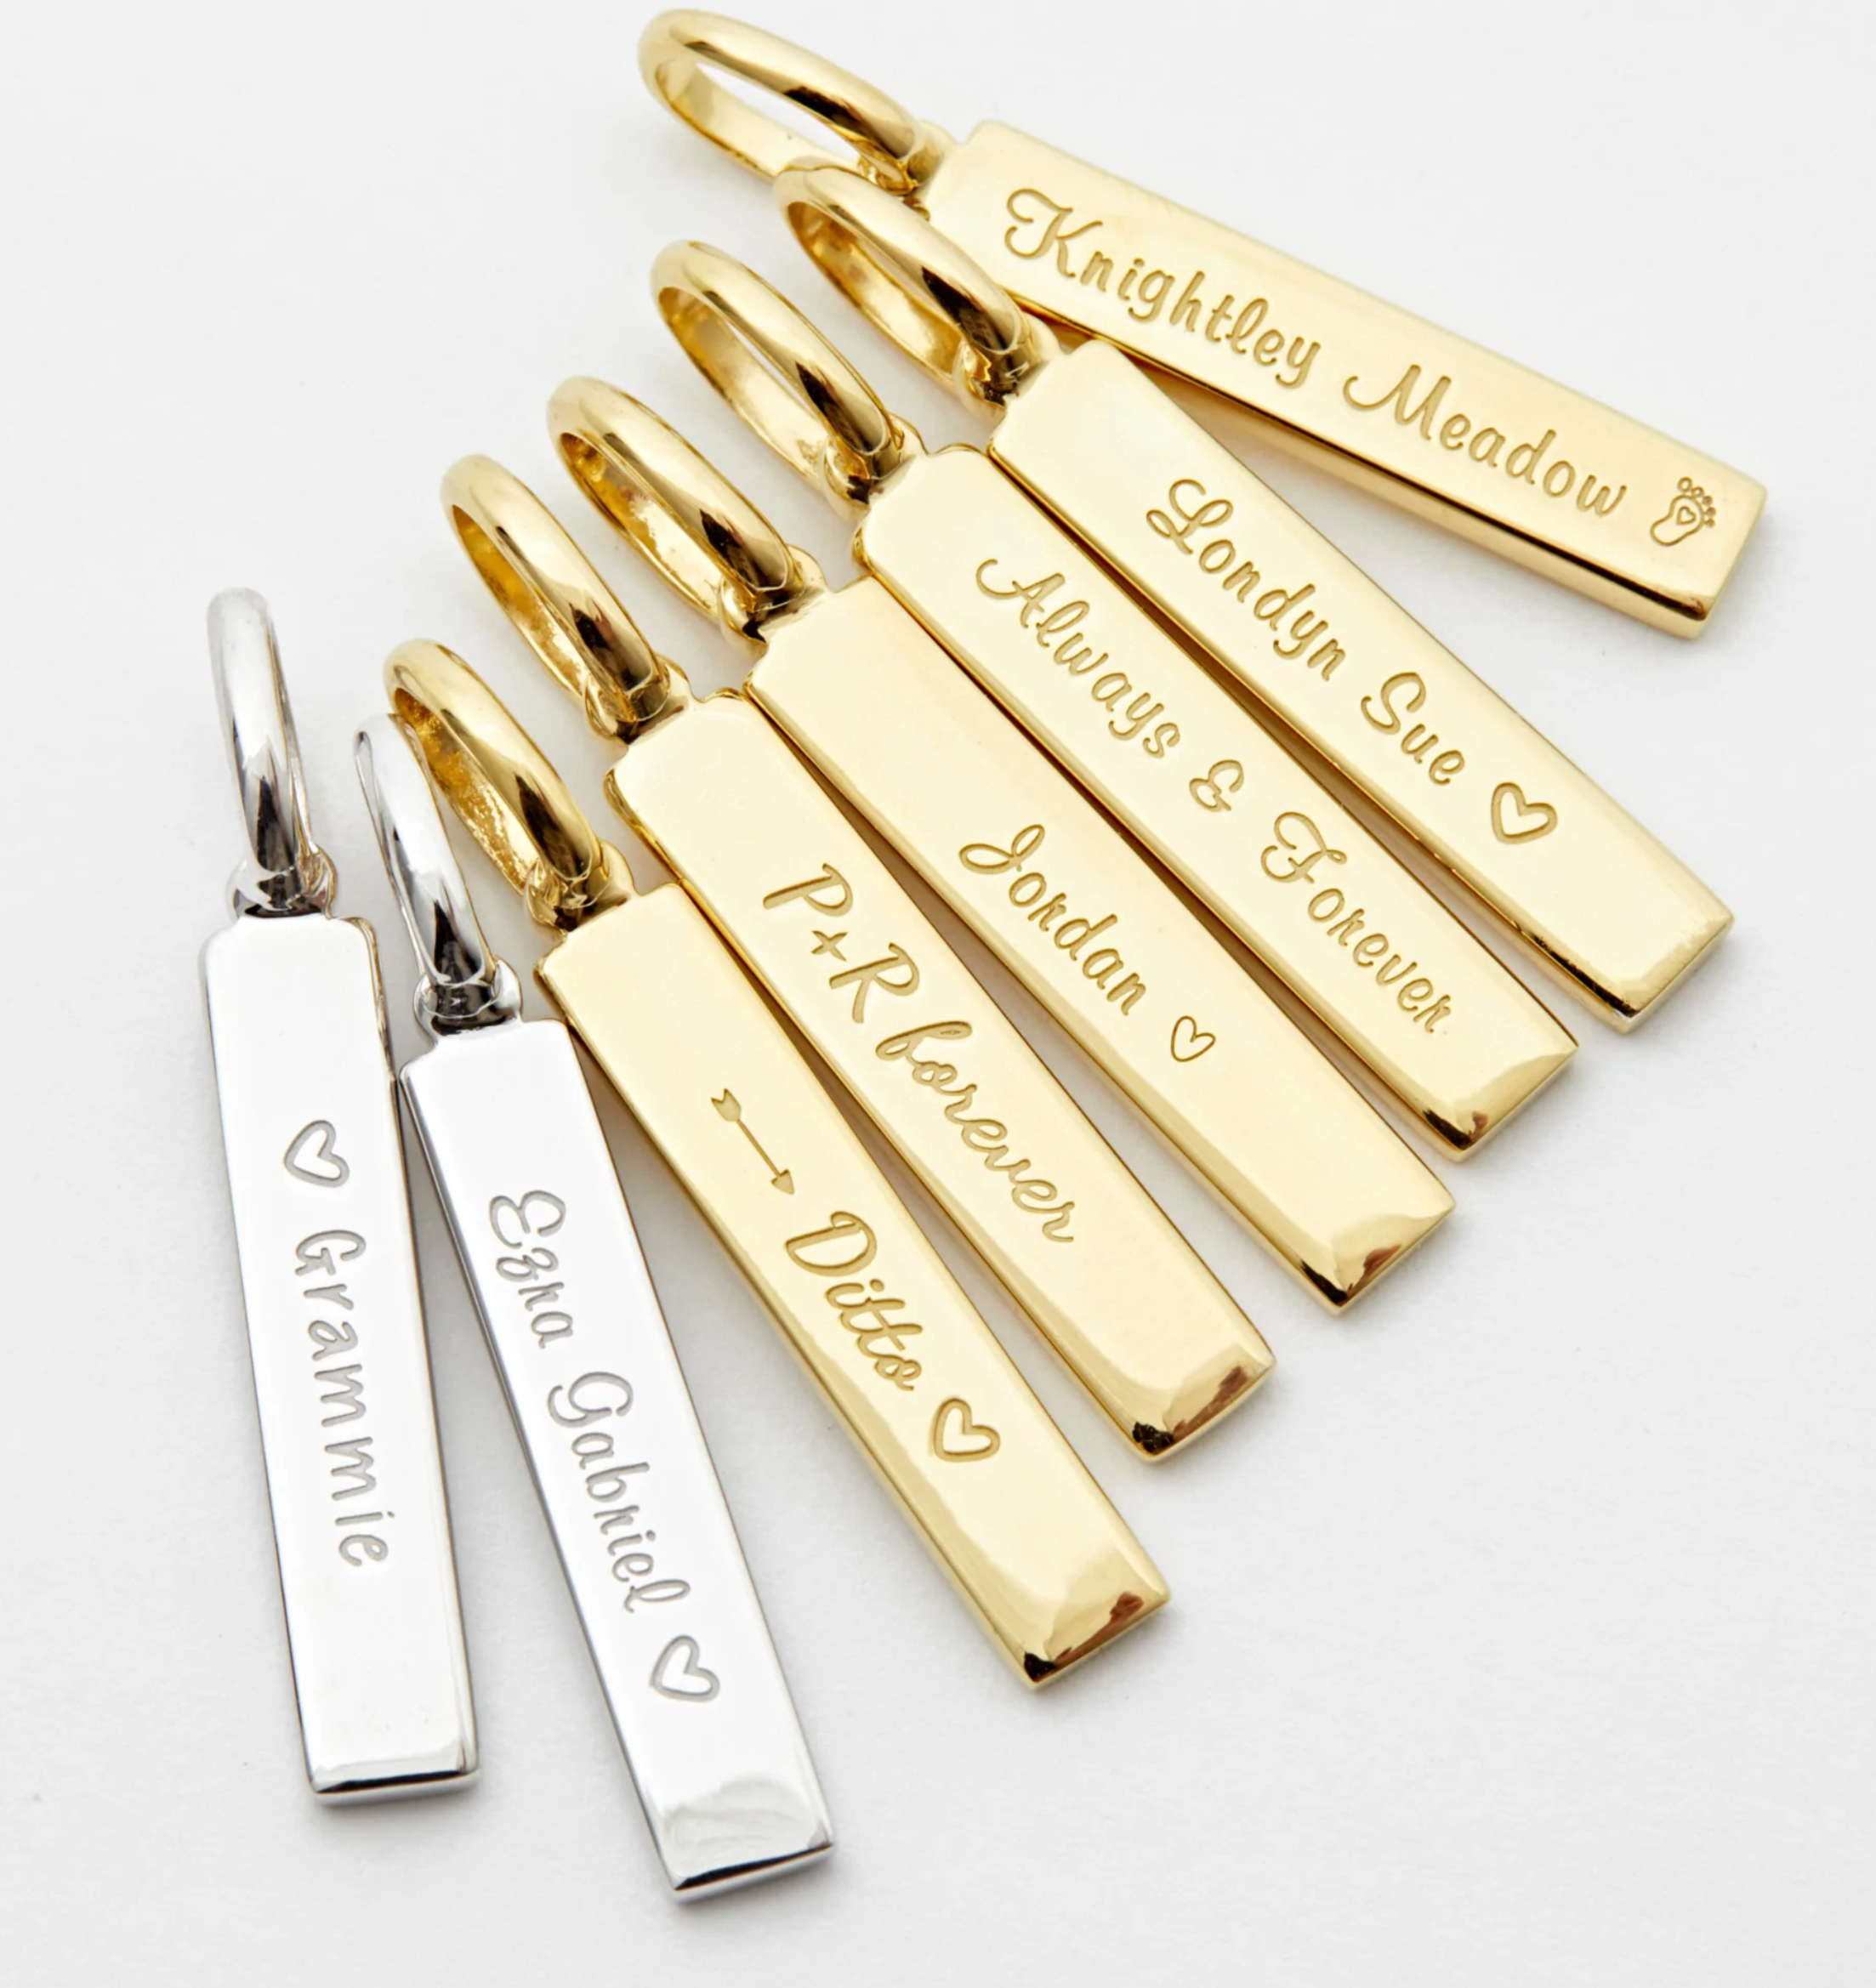
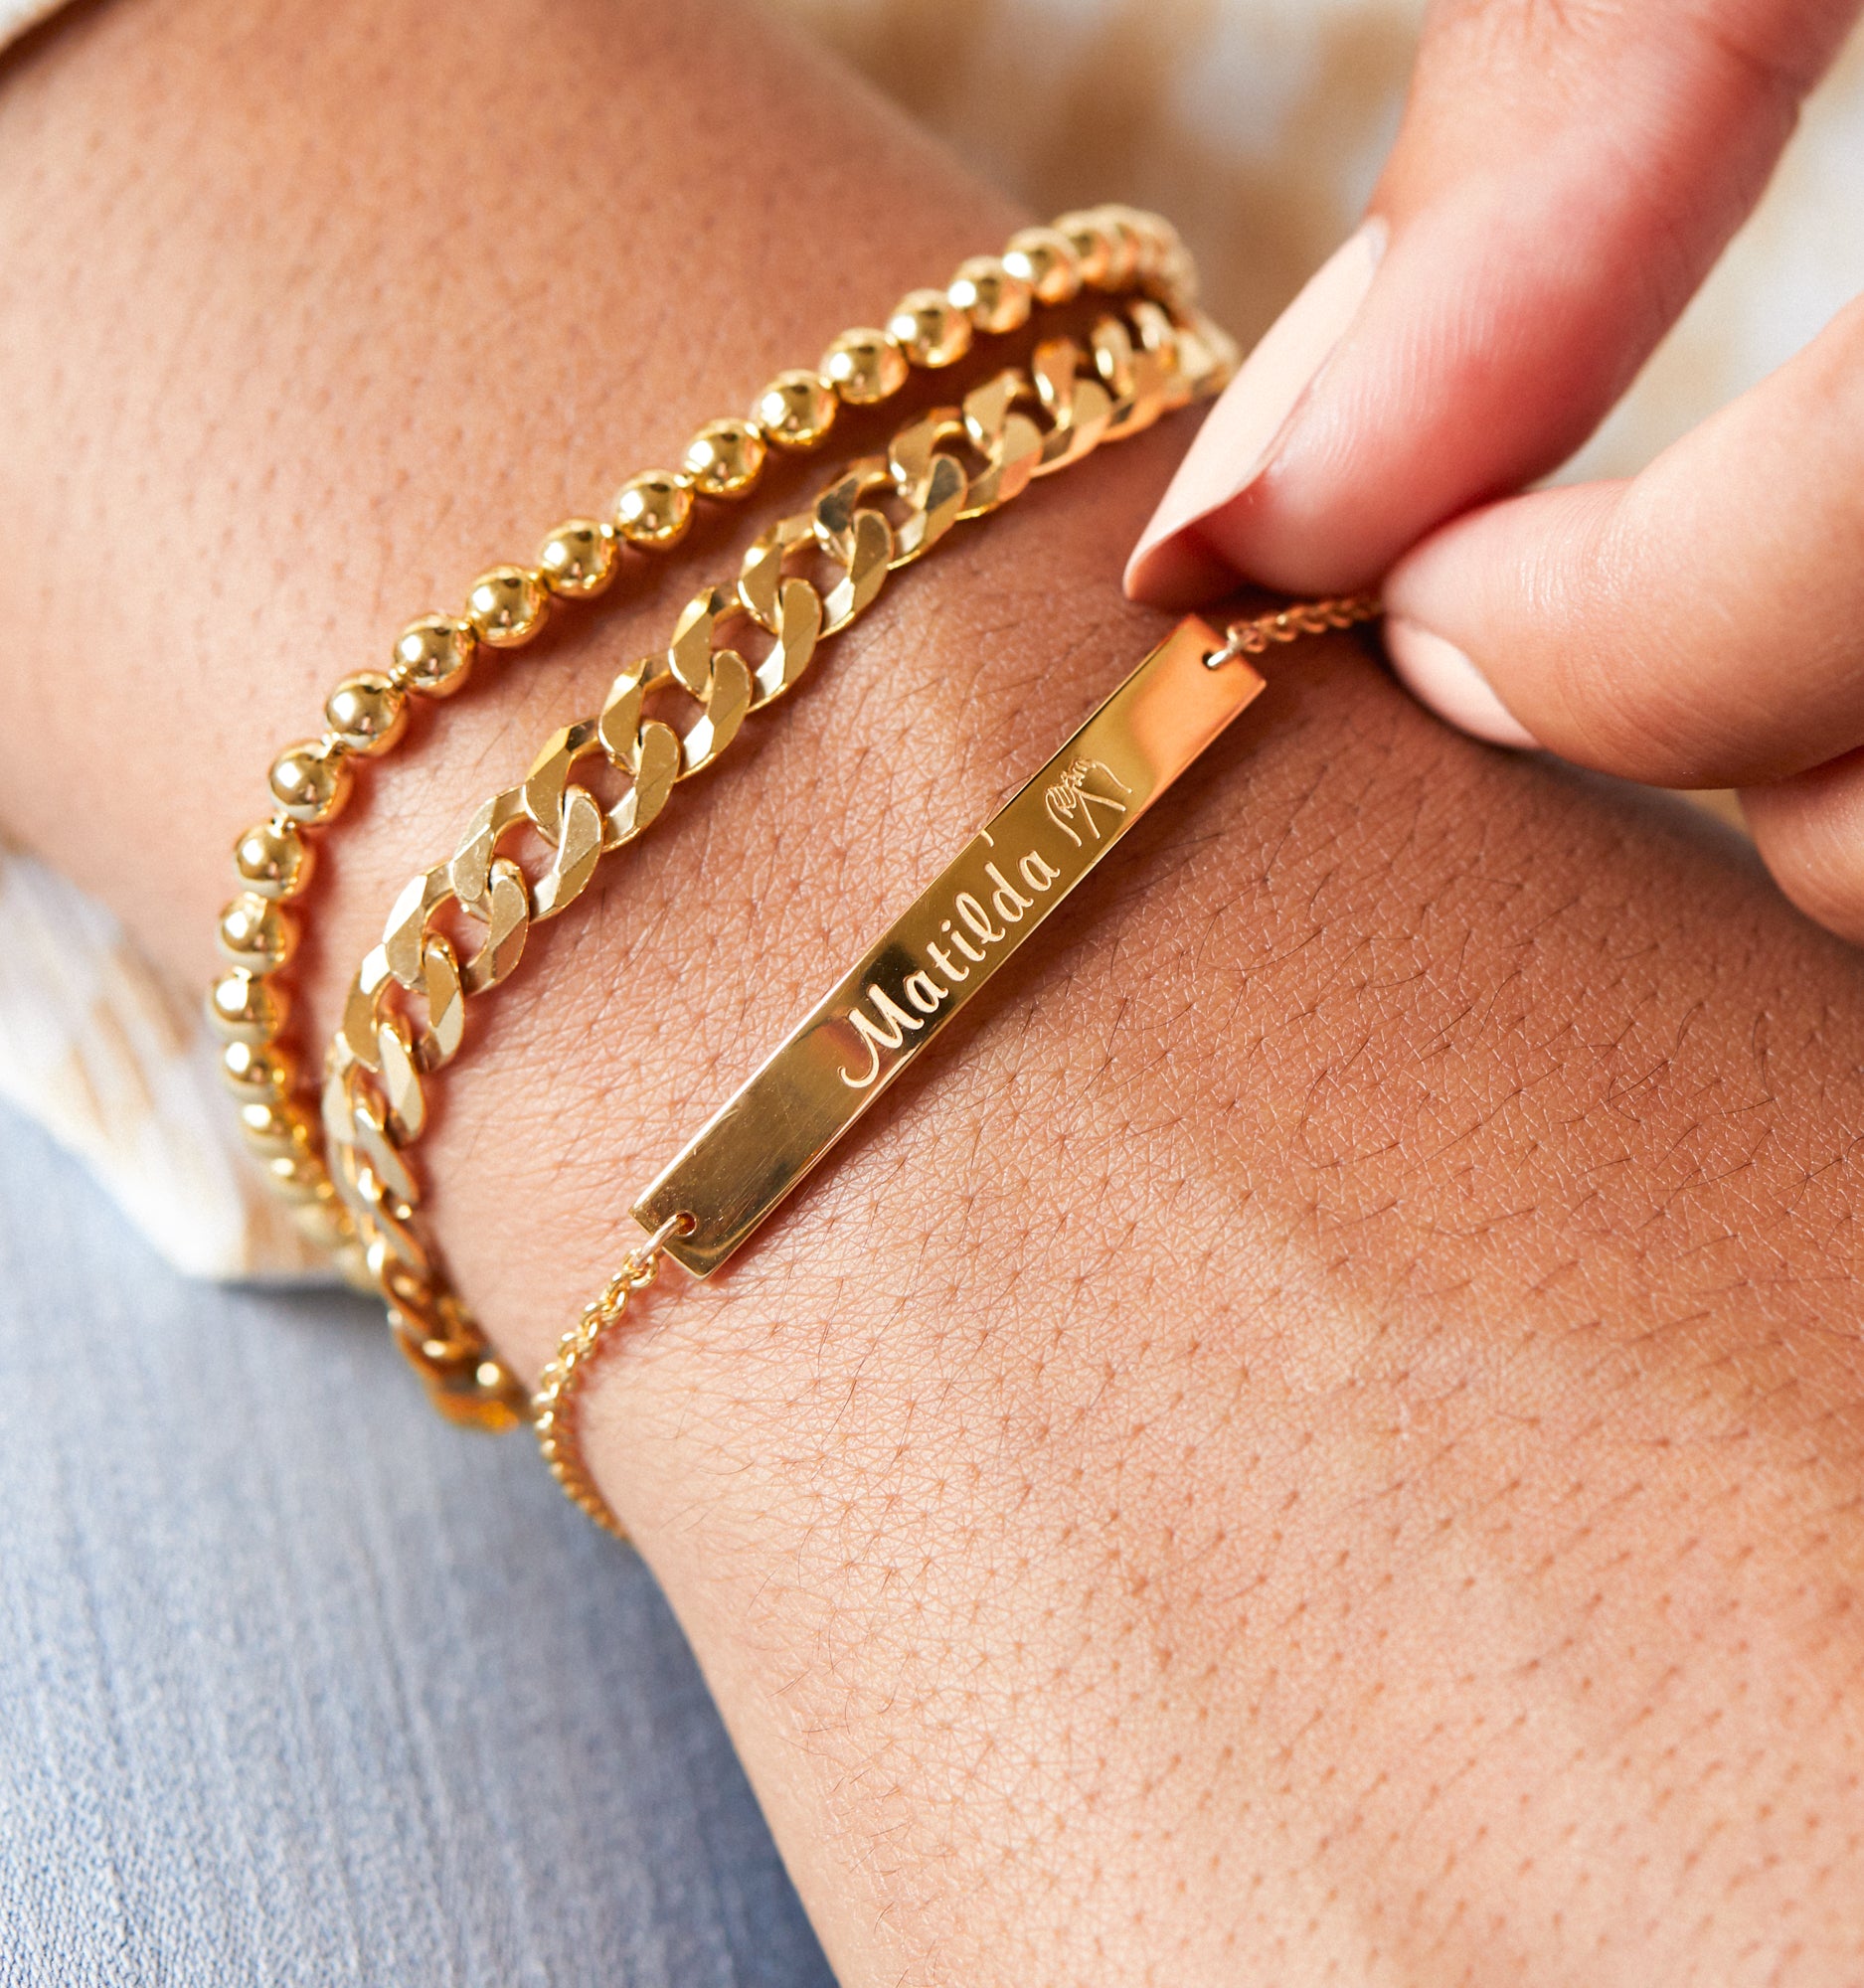
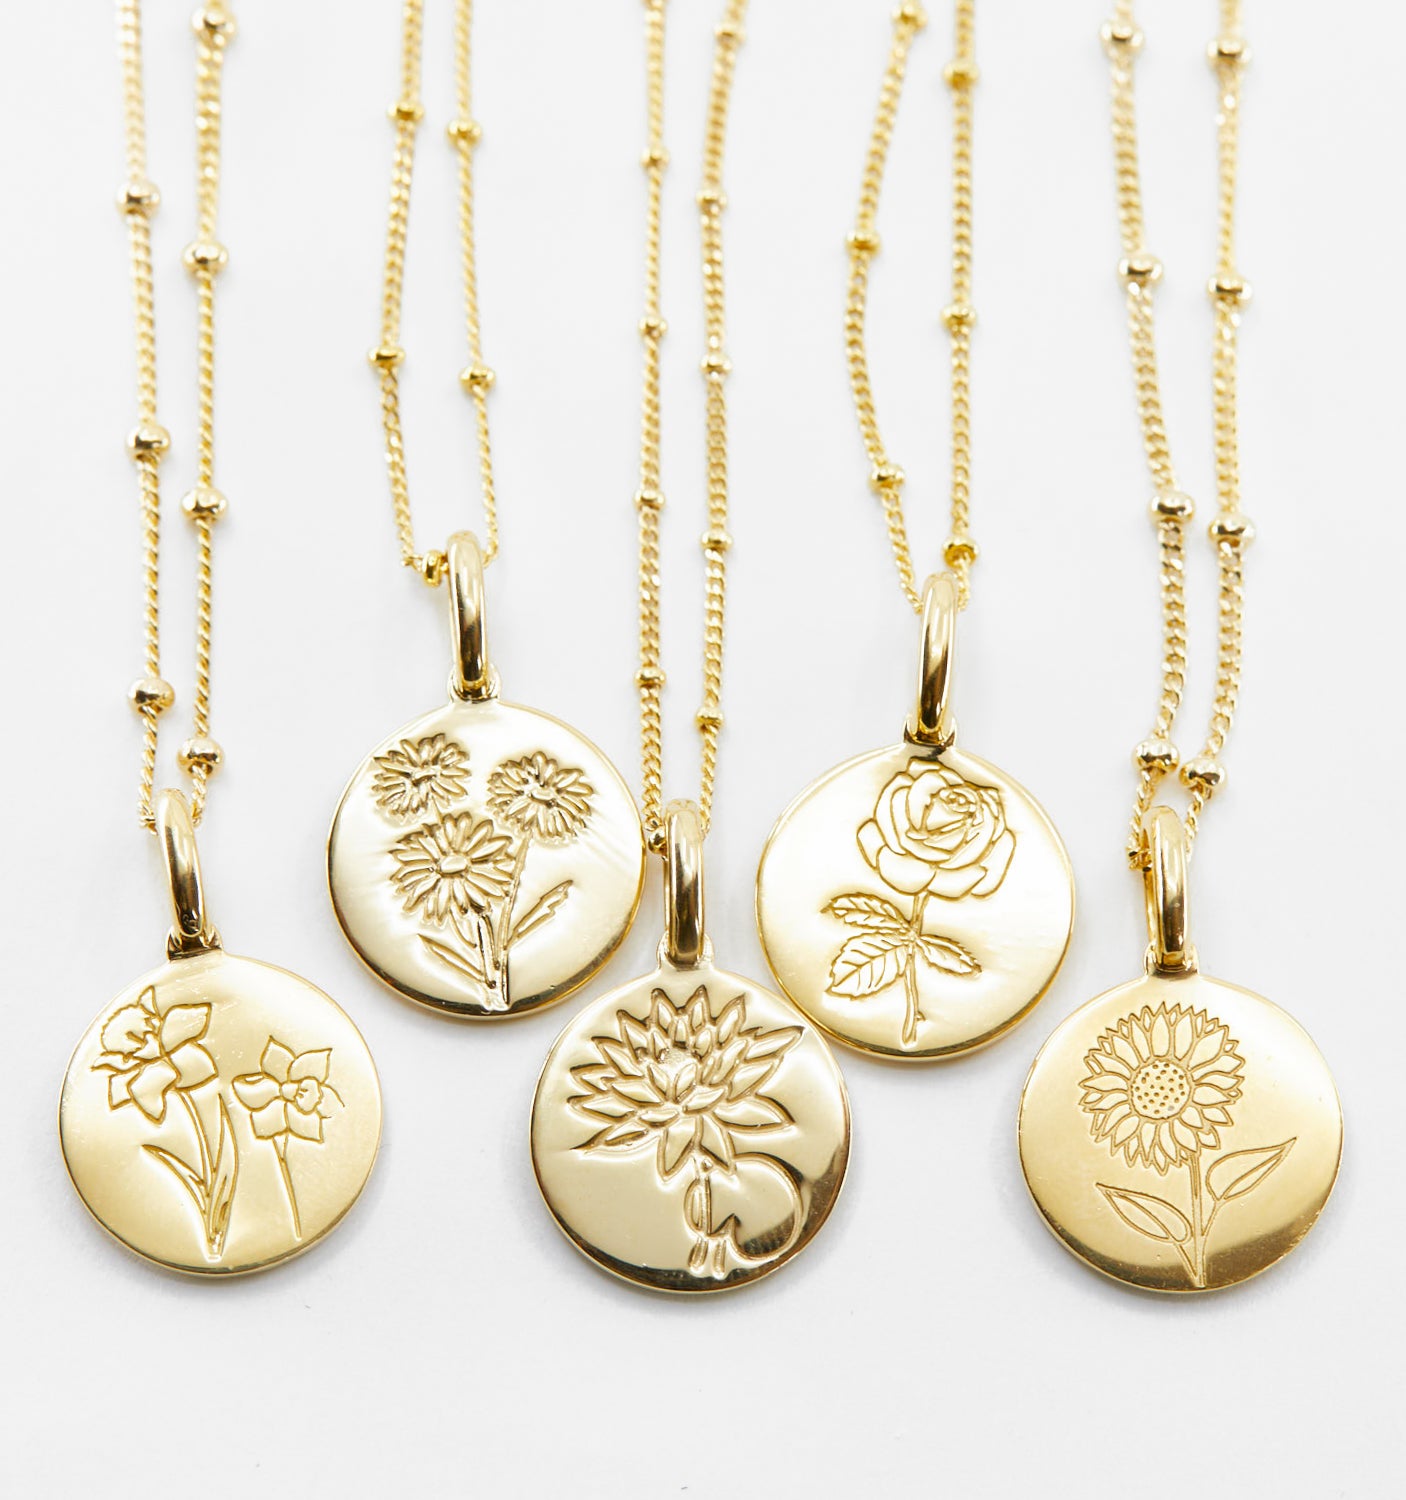
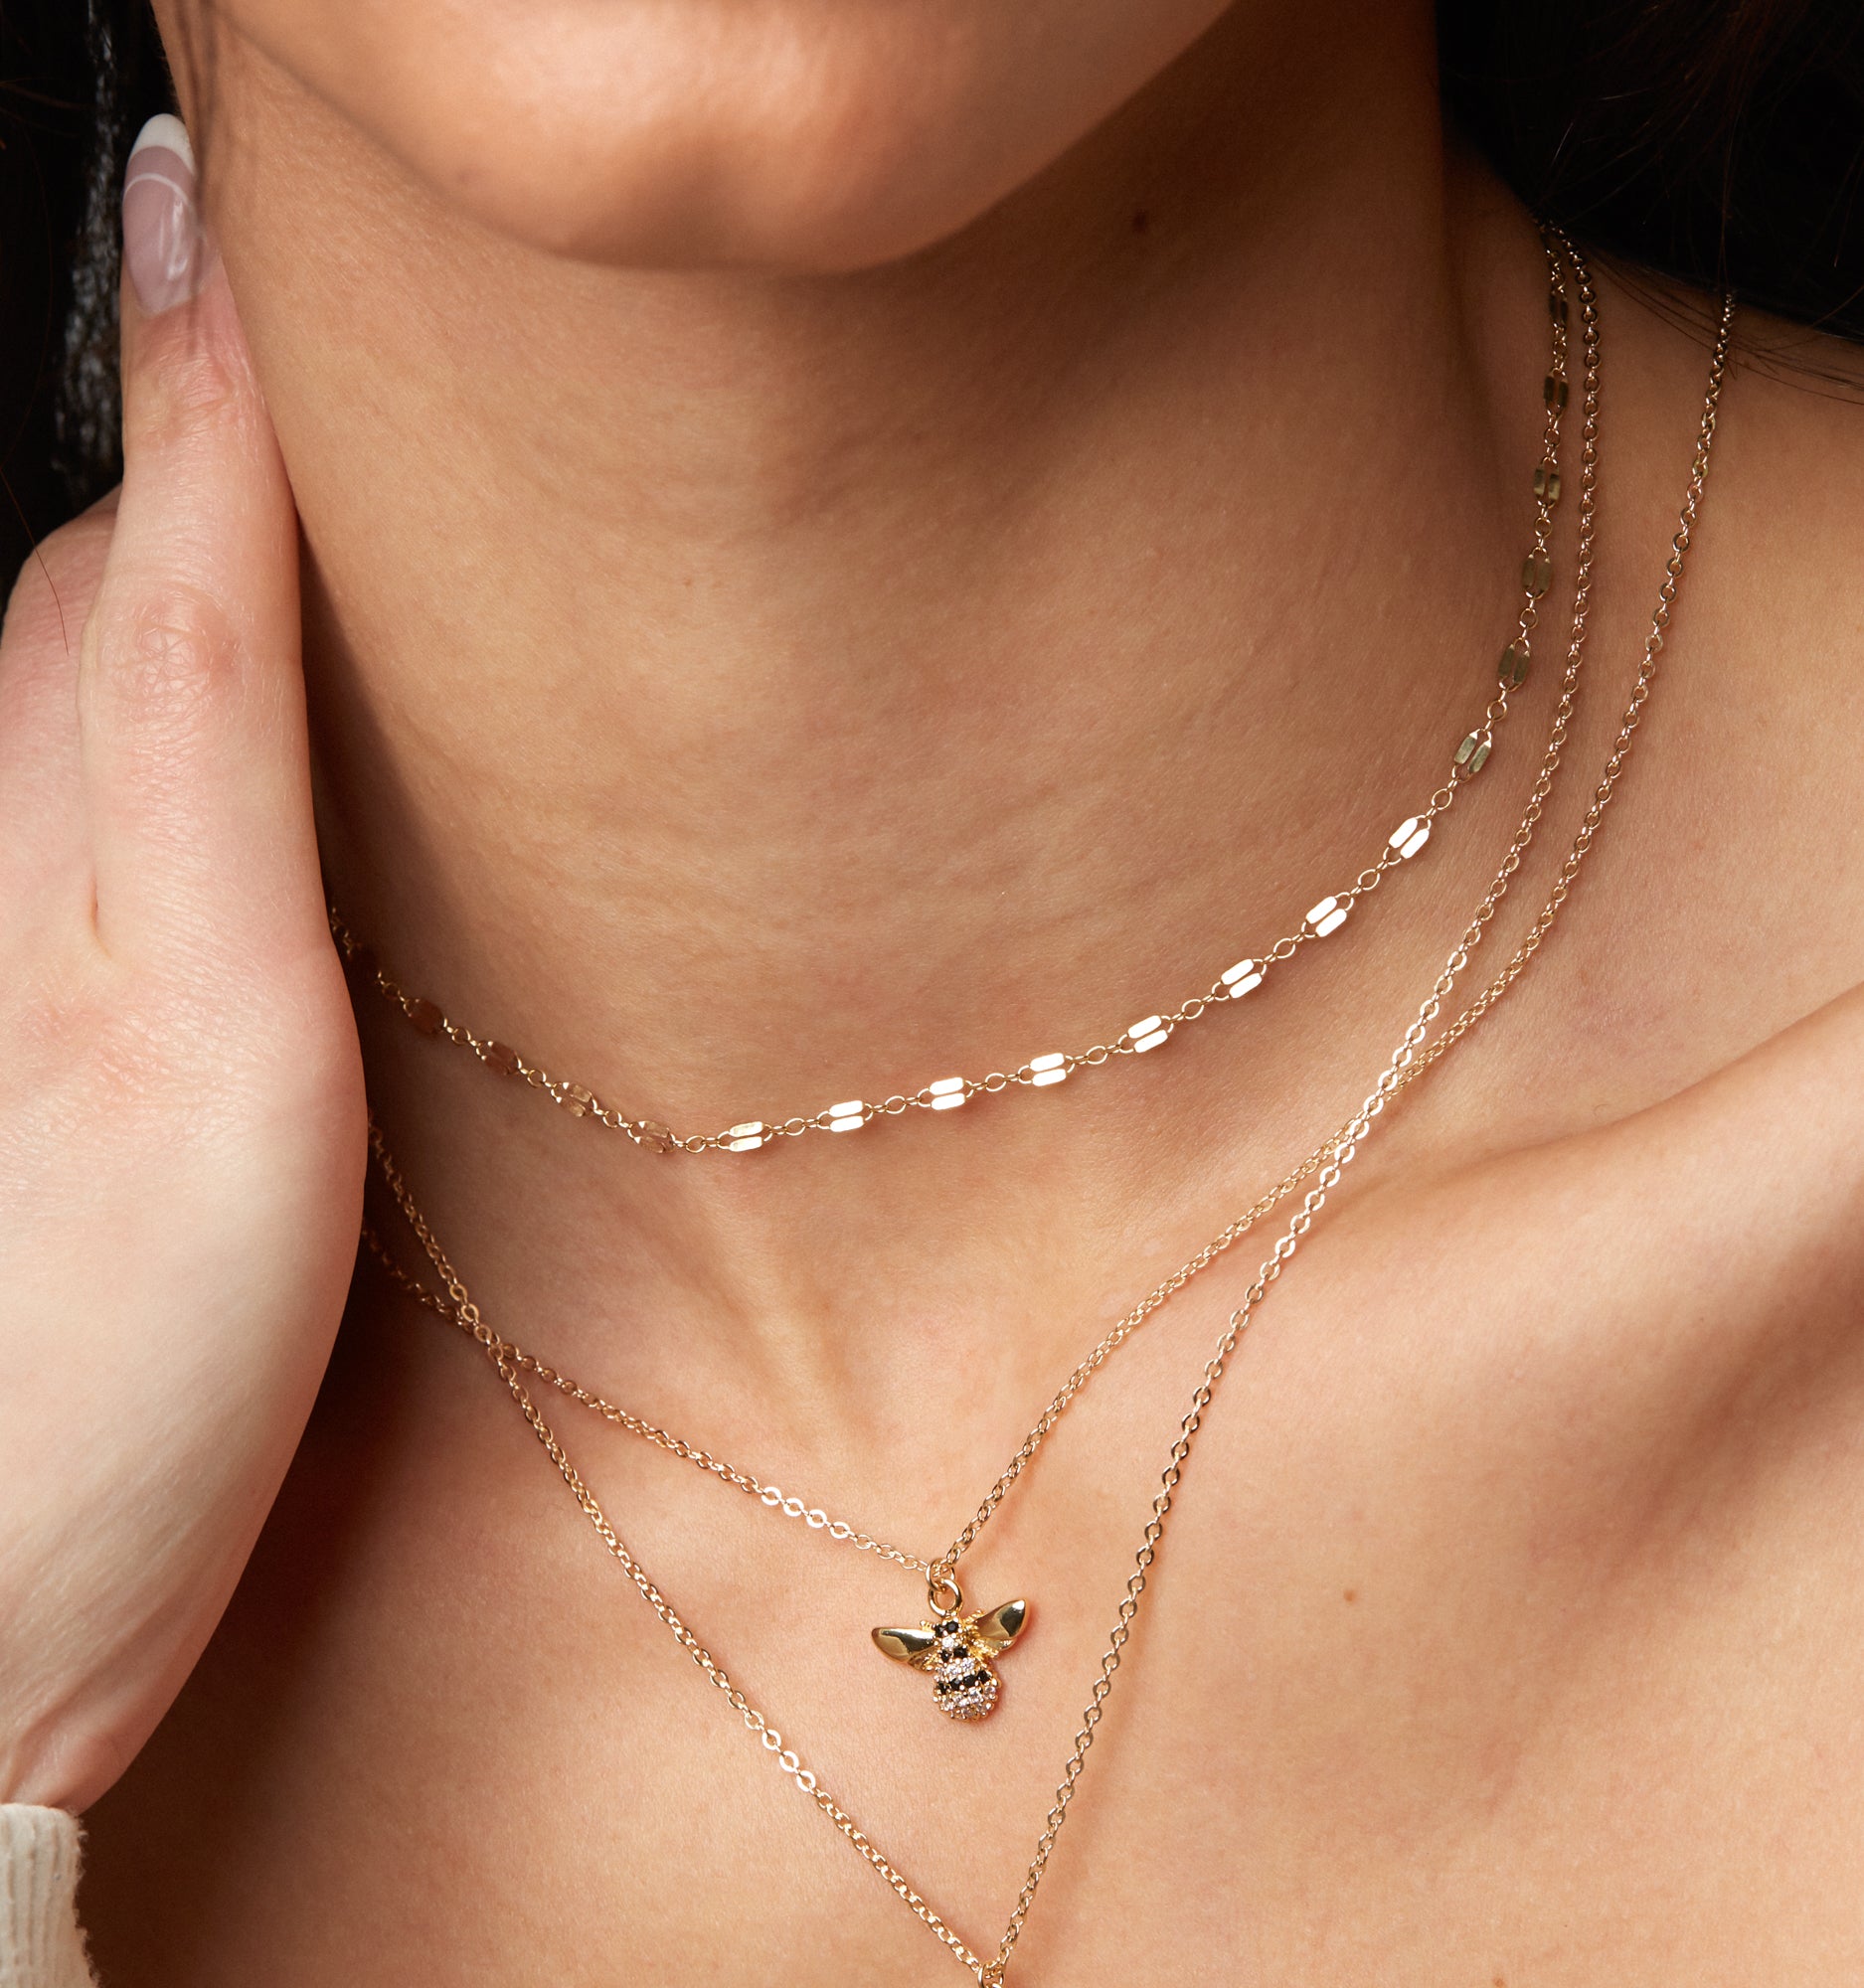
Even though it’s a widespread problem, it’s kind of an embarrassing one to talk about. According to the Chicago Tribune, 20 percent of piercings end up with an infection, which is a slippery slope to other complications if left untreated. Make sure to get high quality earrings that won't irritate your skin or turn your skin green:
But Why Me?
“Ear cheese” afflicts us all. This is especially true if your piercing is brand new. You may be more likely to experience the smell because your body may still be healing the puncture.
There is also a greater risk of cheesy ears for individuals who never take out their earrings and others whose piercings have been stretched.
But, if it’s you, it’s totally okay. The issue of “ear cheese” is easily solved with, you guessed it! Thoroughly cleaning and caring for your earrings and ears.
Let us quietly and quickly veer from discussing the scent of this phenomenon and instead focus on the solution.
How To Fix It
That solution is a saline solution. Surprisingly a little saltwater will clean up those ear lobes in a jiff, but let’s talk about some lasting solutions.
When it comes to conquering the dreaded “ear cheese,” the solution may seem overly simple, so today, we are going to discuss some new routines and habits that will help care for all of your piercings, not just your ears.
New Routine, Who Dis?
Some of you may be asking yourself, “well, if my ear cheese and I have survived this long without any casualties, why should I change anything now?”
The easy answer to this is we all get old. Old age may not be right around the corner, but she’s coming, and just like reducing the signs of wrinkles, we want to start taking care of our ears now.
As we age, the collagen in our skin starts to break down, and where we once had beautiful bouncy ear lobes might begin to change to wrinkled and droopy little things. By starting a care routine now, you can stave off those unsightly ear wrinkles, and because you are paying attention, you might just be able to catch your first ear hair before anyone else sees it. Not to mention, you might be sporting a hearing aid or two in a couple of decades, which are undoubtedly excellent “ear cheese” producers.
We’ve pulled together all the research we can find on caring for your piercings and ears in this one-of-a-kind Anti “Ear Cheese” Self Care Routine. Join us in pampering our lobes and saying goodbye to that old stinky smell for good!
Tender Lobe and Care (TLC)
Step One
Remove your earring. Creating a habit of changing out and cleaning your earrings will also benefit your ears greatly. We all want our jewelry to sparkle and look it’s very best, so sticking to a cleaning schedule will keep those beauties shiny like the first day you wore them.
Step Two
After you have removed your earrings and set them aside to clean them separately, it is time to get to work cleaning those ears with a warm washcloth and mild soap. We like to suggest using a moisturizing cleanser like an oil cleanser for your face to gently suds up the exterior of your ear.
Be sure to wash behind your ears like your mother always said! Dead skin cells like to build up behind the lobe of our ears near the crease, so keeping this area clean will really help stave off the “ear cheese.”
You’ll also want to be sure you are using a clean edge of the washcloth and cleaning inside your ear. Don’t forget the top part of your ear, as pesky oil and dead skin cells can hang out together up there as well.
Step Three
Next, refresh that washcloth with some warm water and go over those ears, rinsing them off. Be very thorough, but try not to leave soap or moisture inside your ear.
While you are doing this, it will be tempting to use a q-tip in your ear. We want to stress how important it is that you kick your q-tip habit (inside your ears) to the curb. We will be using a q-tip in a moment, but we’ll be using it outside our ears.
Step Four
Using this warm water on our ears will help soften up any ear wax in the ear and any outside of the ear as well. We advise you against using q-tips that can push the dead skin cells and ear wax deeper into the ear and instead try investing in an ear irrigation tool for helping to remove anything extra that might be making a home in there.
Moving on from that!
Step Five
Use a toner! This does not seem intuitive at first, but we have pores in our ears that can get clogged by this stuff (hello! Anyone ever had those painful ear zits?)
Grab your favorite face toner and a couple of cotton balls. Swipe behind the ear, in front of the ear, over the top of the ear, and beneath the ear. Be sure to get inside the ear and the tippy top of the lobe as well.
A toner will help clarify the skin around and inside the ear.
Step Six
This step is going to seem a little crazy, but it will help. Apply a moisturizer to the skin around your ear. Making sure your ear is moisturized and happy can help manage sebum production.
Step Seven
Add a little warm water to a shallow bowl and mix in about a half tsp of table salt. Stir the salt in till it dissolves. Grab one of those outlawed q-tips and get to dipping into the saline solution.
Use this solution to wash around the piercing on the front and back. You can do this several times a week, especially when you don’t have time to do your entire routine.
To do this on the fly: remove your earrings, clean around the front and back of your piercing on the ear. Then clean the post and backing with the same saline solution. This will start you off fresh and help cut down on any build-up throughout the week.
Other Measures You Can Take
As a preventive measure, ask your piercer to use a needle instead of a piercing gun.
Piercing guns force the earring straight through the skin and can cause a lot of tissue stretching and potential for unnecessary damage where a needle is sharp enough to slip right through the skin.
Also, the guaranteed sterilization of a tool made with plastic parts is often difficult.
Needles are entirely sterile and are much easier to control the piercing precision than with a gun. A needle acts as a scalpel, making a tiny incision through the tissue, leaving the region around the piercing unscathed with minimal damage. Often, a needle piercing hurts less and is less of a shock than the piercing gun.
Lastly, invest in quality gold or sterling silver jewelry and make sure to keep it clean.
Say Goodbye to “Ear Cheese” and Hello to Ears Pleased!
Not only does washing and moisturizing your ears cut back on the dreaded stinky “ear cheese,” but it feels downright amazing to give a little TLC and massage to those relatively ignored ear lobes.
And as you start to implement your own ear routine, just remember you are not alone. So many of us face this unspoken problem week after week, but now you’ve got the tools you need to make sure it’s a rarity.
Sources:
https://www.stapaw.com/tattoos-in-the-workplace-statistics
https://reverehealth.com/live-better/how-to-clean-your-ears-safely/


